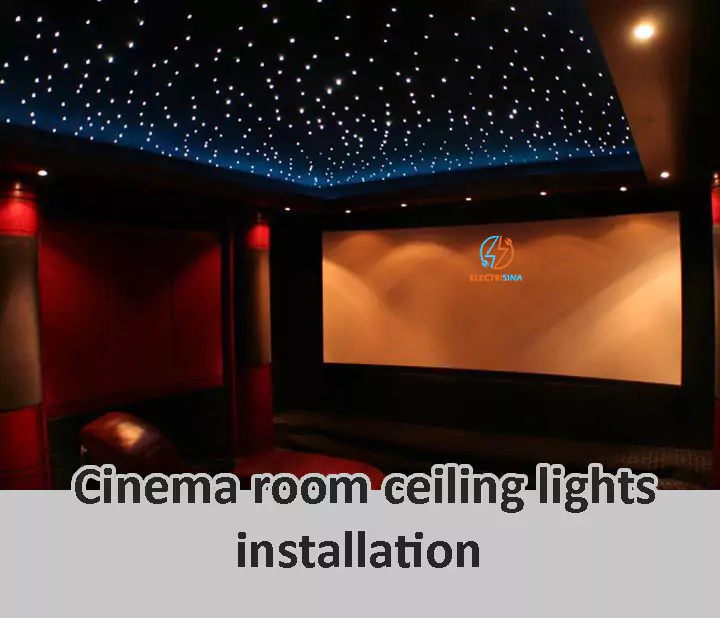
Installing ceiling lights in a cinema room can enhance the overall ambiance and provide the necessary illumination for an enjoyable movie-watching experience.
Introduction of Cinema room ceiling lights installation
Are you looking to take your cinema room to the next level? Look no further! Electrisina, your trusted electrical experts, are thrilled to present our premier cinema room ceiling lights installation services.
At Electrisina, we understand that a captivating movie-watching experience involves more than just a screen and speakers. The right lighting can transform your cinema room into a mesmerizing haven, immersing you in the magic of every film you watch. Our team of skilled and certified electricians is here to bring your cinematic vision to life with our top-notch lighting solutions.
Here’s a general guide to help you with the ceiling lights installation process:
- Safety first: Before starting any electrical work, turn off the power to the existing light fixture or the circuit you’ll be working on. Use a voltage tester to ensure there’s no live electricity.
- Choose the right lights: Consider the size and layout of your cinema room. LED recessed lights are a popular choice for cinema rooms due to their low profile and even illumination. You may also opt for dimmable lights to control the brightness during movie screenings.
- Gather the necessary tools: You’ll need some basic tools such as a drill, drywall saw or hole saw, wire stripper, wire nuts, and screwdrivers.
- Measure and mark: Plan where you want to install the lights on the ceiling. Measure the distance between the lights to ensure even spacing. Mark the locations with a pencil.
- Cut the holes: Use a drywall saw or a hole saw to cut holes at the marked locations for the lights. Be careful not to cut any electrical wires or other utilities in the ceiling.
- Run wiring (if required): If you’re installing new lights where there were none before, you’ll need to run electrical wiring from the nearest power source (e.g., existing light fixture or outlet). If you’re not experienced with electrical work, it’s best to hire a licensed electrician for this part.
- Mount the lights: Follow the manufacturer’s instructions to install the mounting brackets or clips for the lights. Some recessed lights come with integrated junction boxes for easier wiring.
- Connect the wiring: If you’re comfortable with electrical work, connect the wiring according to the manufacturer’s instructions and local electrical codes. Typically, black (or red) wires are connected to black wires, white wires to white wires, and green or bare copper wires to green or bare copper wires.
- Attach the lights: Carefully insert the lights into the mounting brackets or clips and secure them in place.
- Test the lights: Once all the lights are installed, turn the power back on and test the lights to make sure they work correctly.
- Install dimmer switch (optional): If you opted for dimmable lights, you can install a compatible dimmer switch to control the brightness level.
- Finishing touches: Finally, make sure all the wires are safely tucked away in the junction box, and the lights fit flush with the ceiling. Patch up any holes or imperfections around the lights if necessary.
Remember, if you’re unsure about any part of the installation process, it’s best to seek help from a professional electrician to ensure safety and proper installation.
Why Choose Electrisina Pty Ltd?
- Expertise: With years of experience in the electrical industry, our technicians are well-versed in handling all types of cinema room lighting installations. We stay updated with the latest lighting trends and techniques to provide you with the best possible service.
- Tailored Solutions: We understand that every cinema room is unique. That’s why we work closely with you to understand your specific preferences and requirements. Whether you prefer LED recessed lights, dimmable options, or any other lighting style, we’ve got you covered.
- Safety First: Your safety is our utmost priority. Our team adheres to strict safety protocols, ensuring all installations are carried out with the highest level of care and precision. You can trust us to handle every aspect of the installation process with expertise.
- Quality Products: We partner with reputable manufacturers to source the highest-quality lighting fixtures. Rest assured, all the products we use are energy-efficient, long-lasting, and designed to provide optimal performance.
- Efficiency: Time is of the essence, and we understand that. Our team works efficiently to complete the installation process promptly, ensuring minimal disruption to your schedule.
- Affordable Pricing: We believe in providing top-tier services at competitive prices. Our transparent pricing structure ensures you know exactly what to expect, with no hidden costs.
Transform Your Cinema Room Today!
Whether you’re setting up a brand-new cinema room or upgrading an existing one, Electrisina is here to make your cinematic dreams a reality.
Our expert team will handle every step of the installation process, from planning and wiring to mounting the lights with precision. Sit back, relax, and enjoy the magic of cinema in the comfort of your home!
Star light ceiling
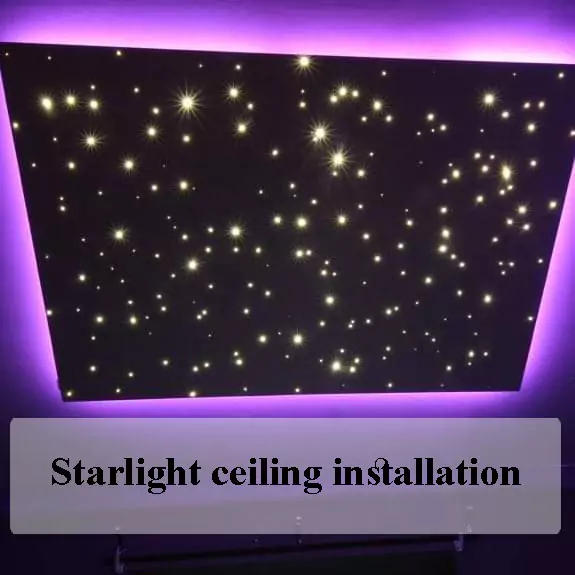
A starlight ceiling, also known as a starry night ceiling or fiber optic star ceiling, is a specialized lighting design that recreates the appearance of a starry night sky on the ceiling of a room. It provides a stunning and immersive visual effect, making it seem as though you are gazing up at a clear, star-filled sky.
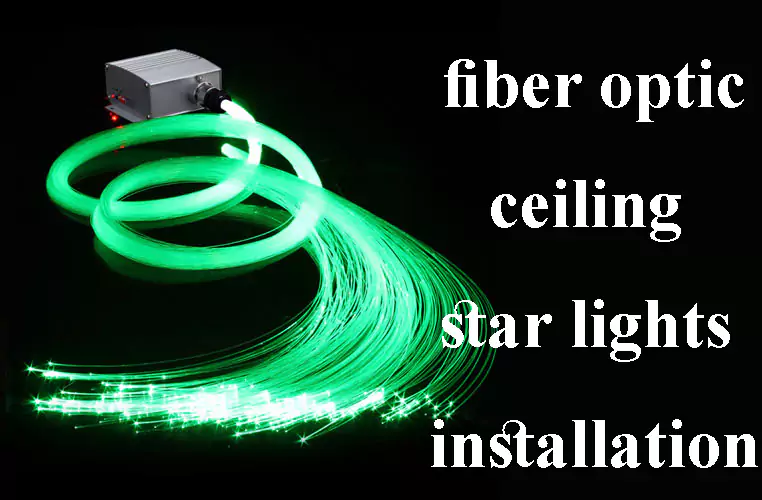
The starlight ceiling is achieved using fiber optic strands that are carefully and strategically installed on the ceiling.
These fiber optic strands act as individual “stars” and emit tiny points of light. The other end of these strands is connected to a light source, which could be an LED light projector or a halogen light generator.
The light source transmits light through the fiber optic strands, causing them to shine like stars on the ceiling.
The effect can be further enhanced by using different-sized fiber optic strands to create a sense of depth and various colors of light to simulate different star colors. Some starlight ceiling installations even incorporate shooting stars or gradual color-changing effects to mimic the movement and brilliance of a real night sky.
Starlight ceilings are popular in various settings, including home theaters, bedrooms, relaxation spaces, and even commercial establishments like spas and hotels. They offer a unique and magical experience, allowing individuals to unwind and escape to a serene, celestial setting.
fiber optic ceiling star lights for bedroom
Fiber optic ceiling star lights can create a magical and dreamy ambiance in a bedroom, providing a stunning starry night sky effect that can help you relax and unwind. Here’s how you can use fiber optic star lights in a bedroom:
- Ceiling Installation: Start by installing the fiber optic strands on the ceiling. You can arrange them in a random pattern to mimic the natural distribution of stars or create a specific constellation or star map if you prefer. If you’re unsure about the installation process, it’s best to seek professional help to ensure a precise and beautiful result.
- Light Source: Connect the other end of the fiber optic strands to a light source. You can use an LED light projector or a dedicated fiber optic light generator. LED light projectors are energy-efficient and produce vibrant colors, while fiber optic light generators may allow for more control over color and light intensity.
- Color and Motion: Consider the color of the starlight effect. Classic white stars are popular, but you can also choose different colors like blue or warm white for a unique touch. Some fiber optic systems also allow for color-changing effects, creating a dynamic starry sky. If you want to add a touch of realism, consider incorporating occasional shooting stars or subtle fading and twinkling effects.
- Dimming Capability: Ensure that your fiber optic star lights can be dimmed. This feature will allow you to adjust the brightness according to your preference and set the perfect mood for relaxation and sleep.
- Bedroom Décor: Plan your bedroom décor to complement the starlight ceiling. Consider using dark or deep blue paint on the walls to mimic a nighttime sky and enhance the starry effect. Avoid adding too many other bright lights or distractions in the room that might diminish the starlight ambiance.
- Relaxation and Sleep: Use the starlight ceiling as a part of your bedtime routine. Dim the other lights in the room, turn on the star lights, and allow yourself some time to unwind and relax under the tranquil starry sky. The calming effect can help prepare your mind for a restful sleep.
- Child’s Bedroom: Fiber optic star lights are especially popular in children’s bedrooms as they create a magical and enchanting environment. Kids will enjoy the soothing and imaginative atmosphere, making bedtime a pleasant experience.
Fiber optic ceiling star lights can be an excellent addition to any bedroom, creating a unique and captivating environment that fosters relaxation and brings a touch of wonder to your personal space.
Other services for Cinema room installation
Installing a cinema room can be an exciting and rewarding project, providing you with a dedicated space to enjoy movies, TV shows, and gaming in the comfort of your home. Here are some steps and considerations to guide you through the installation process:
- Selecting the Room: Choose a room in your home that is suitable for the cinema setup. Ideally, it should be a relatively large and enclosed space, such as a basement, spare room, or a converted garage, to minimize outside noise and distractions.
- Room Design and Layout: Plan the layout of the cinema room, considering factors like seating arrangement, screen placement, and sound system positioning. You can either hire a professional interior designer or do it yourself. Ensure that all viewers have a clear view of the screen and that seating is comfortable.
- Acoustic Treatment: Proper acoustic treatment is essential to create an immersive audio experience and reduce sound reflections. Use acoustic panels, bass traps, and other sound-absorbing materials to control sound reflections and echoes.
- Audio System: Invest in a high-quality audio system that suits the room size and layout. A surround sound system with a receiver, speakers, and a subwoofer will provide an immersive audio experience. You can also consider Dolby Atmos or DTS:X setups for a more three-dimensional sound.
- Video Display: Choose the type and size of the display that fits your budget and preferences. You can opt for a large flat-screen TV, a projector and screen combination, or even a high-end home theater projector for a true cinema experience.
- Seating: Comfortable seating is essential for long movie-watching sessions. Consider getting theater-style recliners or large sofas with cup holders for added convenience.
- Wiring and Connectivity: Ensure proper wiring and cable management to connect all your audio and video equipment seamlessly. Conceal wires where possible to maintain a clean and clutter-free appearance.
- Smart Home Integration: If you want to take it a step further, consider integrating your cinema room with a smart home system. This way, you can control lighting, audio, and other elements with a single remote or through voice commands.
- Furniture and Decor: Add the finishing touches with cinema-themed decor, such as movie posters, popcorn machines, and movie-themed memorabilia. Make the space personal and enjoyable for you and your guests.
- Testing and Calibration: Once everything is set up, calibrate your audio and video equipment to ensure optimal performance. You may need professional calibration for the best results.
- Enjoy Your Cinema Room: Invite friends and family over for movie nights and enjoy the immersive cinema experience you’ve created.
Keep in mind that the cost of installing a cinema room can vary significantly based on the quality of equipment and materials you choose. It’s essential to set a budget and prioritize your requirements accordingly. If needed, consult with a professional home theater installer for expert advice and assistance.
Star light ceiling installation
A starlight ceiling installation refers to the process of creating a ceiling that mimics the appearance of a starry night sky. Star light ceiling installation is typically achieved by incorporating small, twinkling LED lights into the ceiling to create the illusion of stars. The lights are strategically arranged to resemble constellations and can be set up in various patterns or designs.
The installation of Star light ceiling process generally involves placing the LED lights on or within the ceiling material, such as panels, tiles, or a stretched fabric ceiling. In the process of Star light ceiling installation, the lights may be connected to a control system that allows for different lighting effects, such as gradual color changes or twinkling patterns. Some installations also incorporate fiber optic technology to enhance the realism of the starry effect.
Star light ceiling installations are often used in home theaters, bedrooms, or other spaces where a calming and aesthetically pleasing ambiance is desired. They can contribute to a unique and immersive atmosphere, providing a sense of relaxation and wonder reminiscent of looking up at a clear night sky.
Conclusion
Note that the installation of a starlight ceiling typically requires professional expertise, as precise placement and meticulous wiring are essential to achieving the desired effect.
Don’t wait any longer; contact Electrisina today to schedule a consultation with our team. Let us bring the perfect ambiance to your cinema room with our exceptional ceiling lights installation services!


